21 January 2026
Niva III: Wattage & CCT Switchable Interior Batten with Integrated LED
Read More
Bespoke Design Services
Technical Support
Client Liaison & Site Surveys
Over 20 Years of Lighting Innovation
Heidi | 21 January, 2026

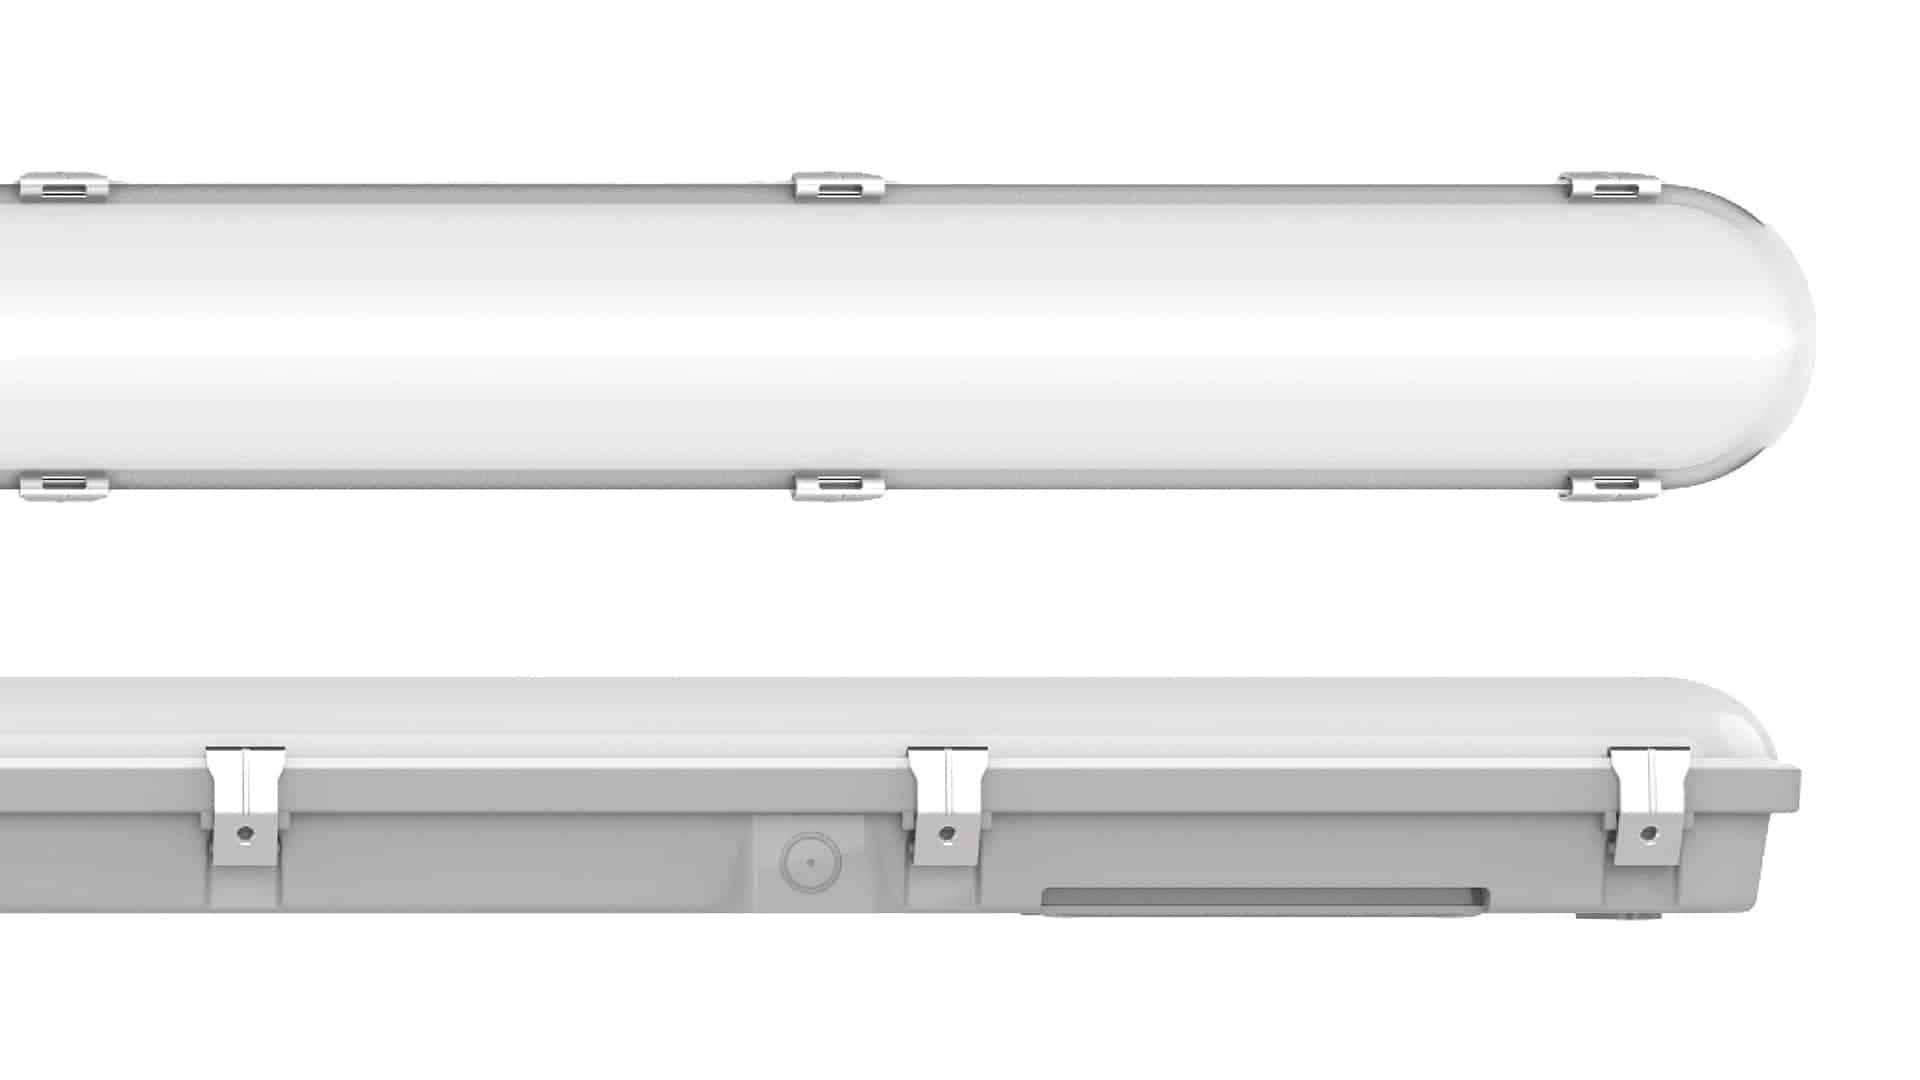
The CCT switch is located on the back of the lamps and has 3 different options, 2700K, 4000K and 6500K.

It has 4 different switchable wattages, 9W, 12W, 15W and 18W, and the switch is located on the back of the lamp.

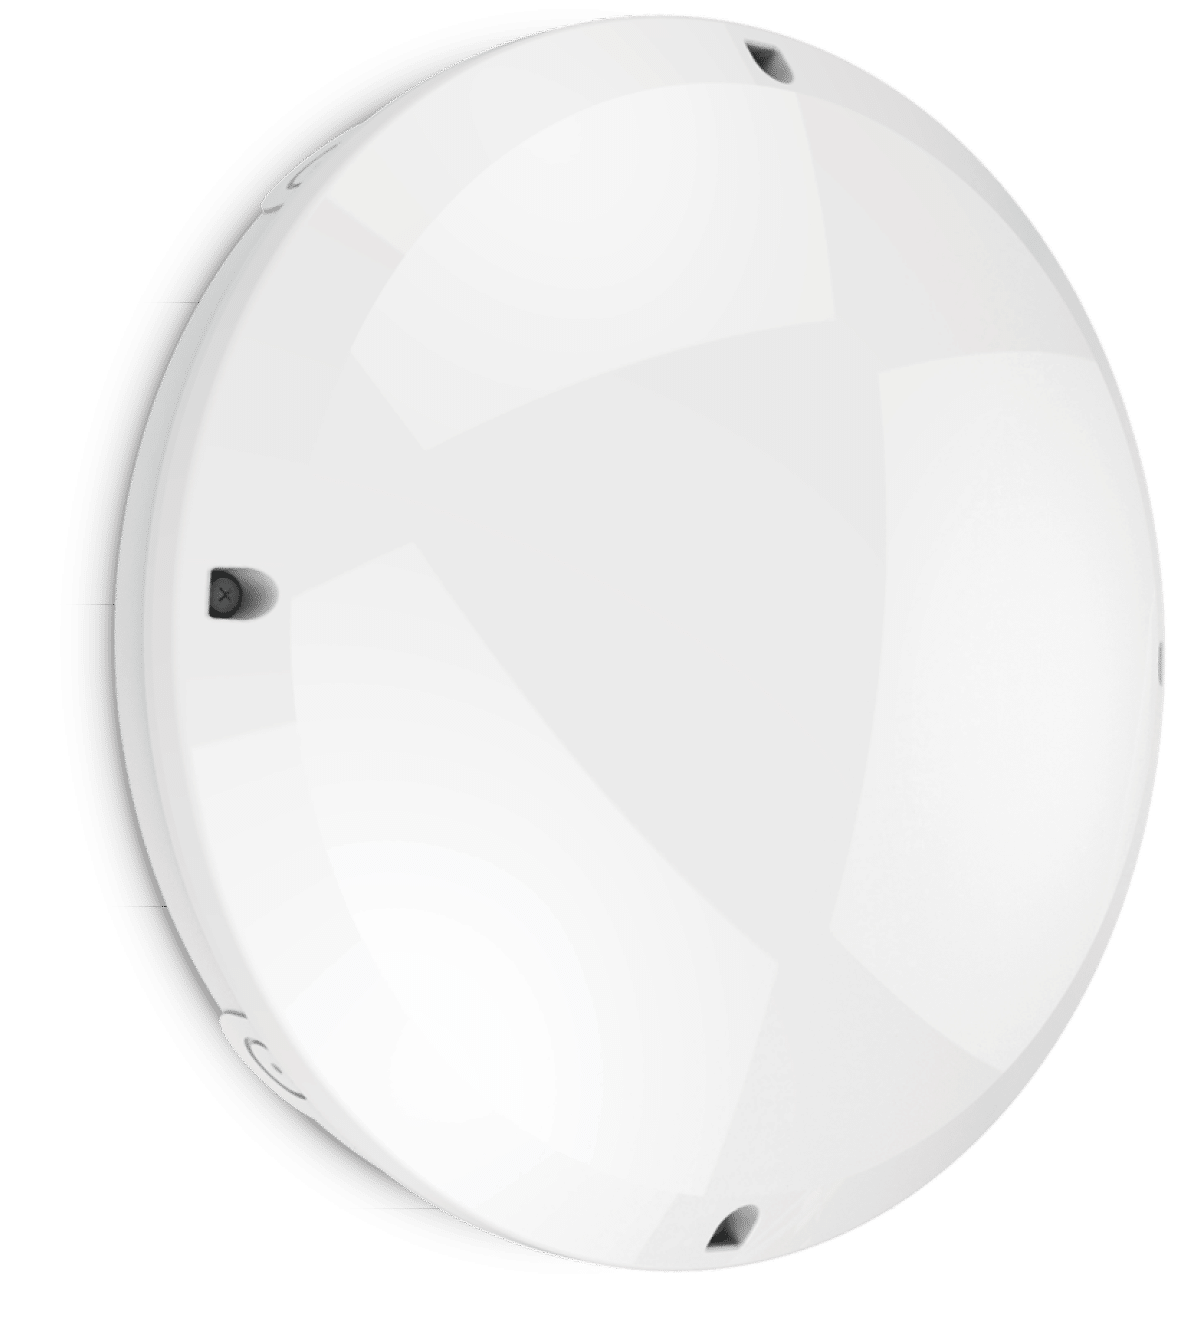
The plug-in sensor & emergency module can be easily secured to the lamp – you can choose one of 3 positions to attach the sensor to the DD lamp.

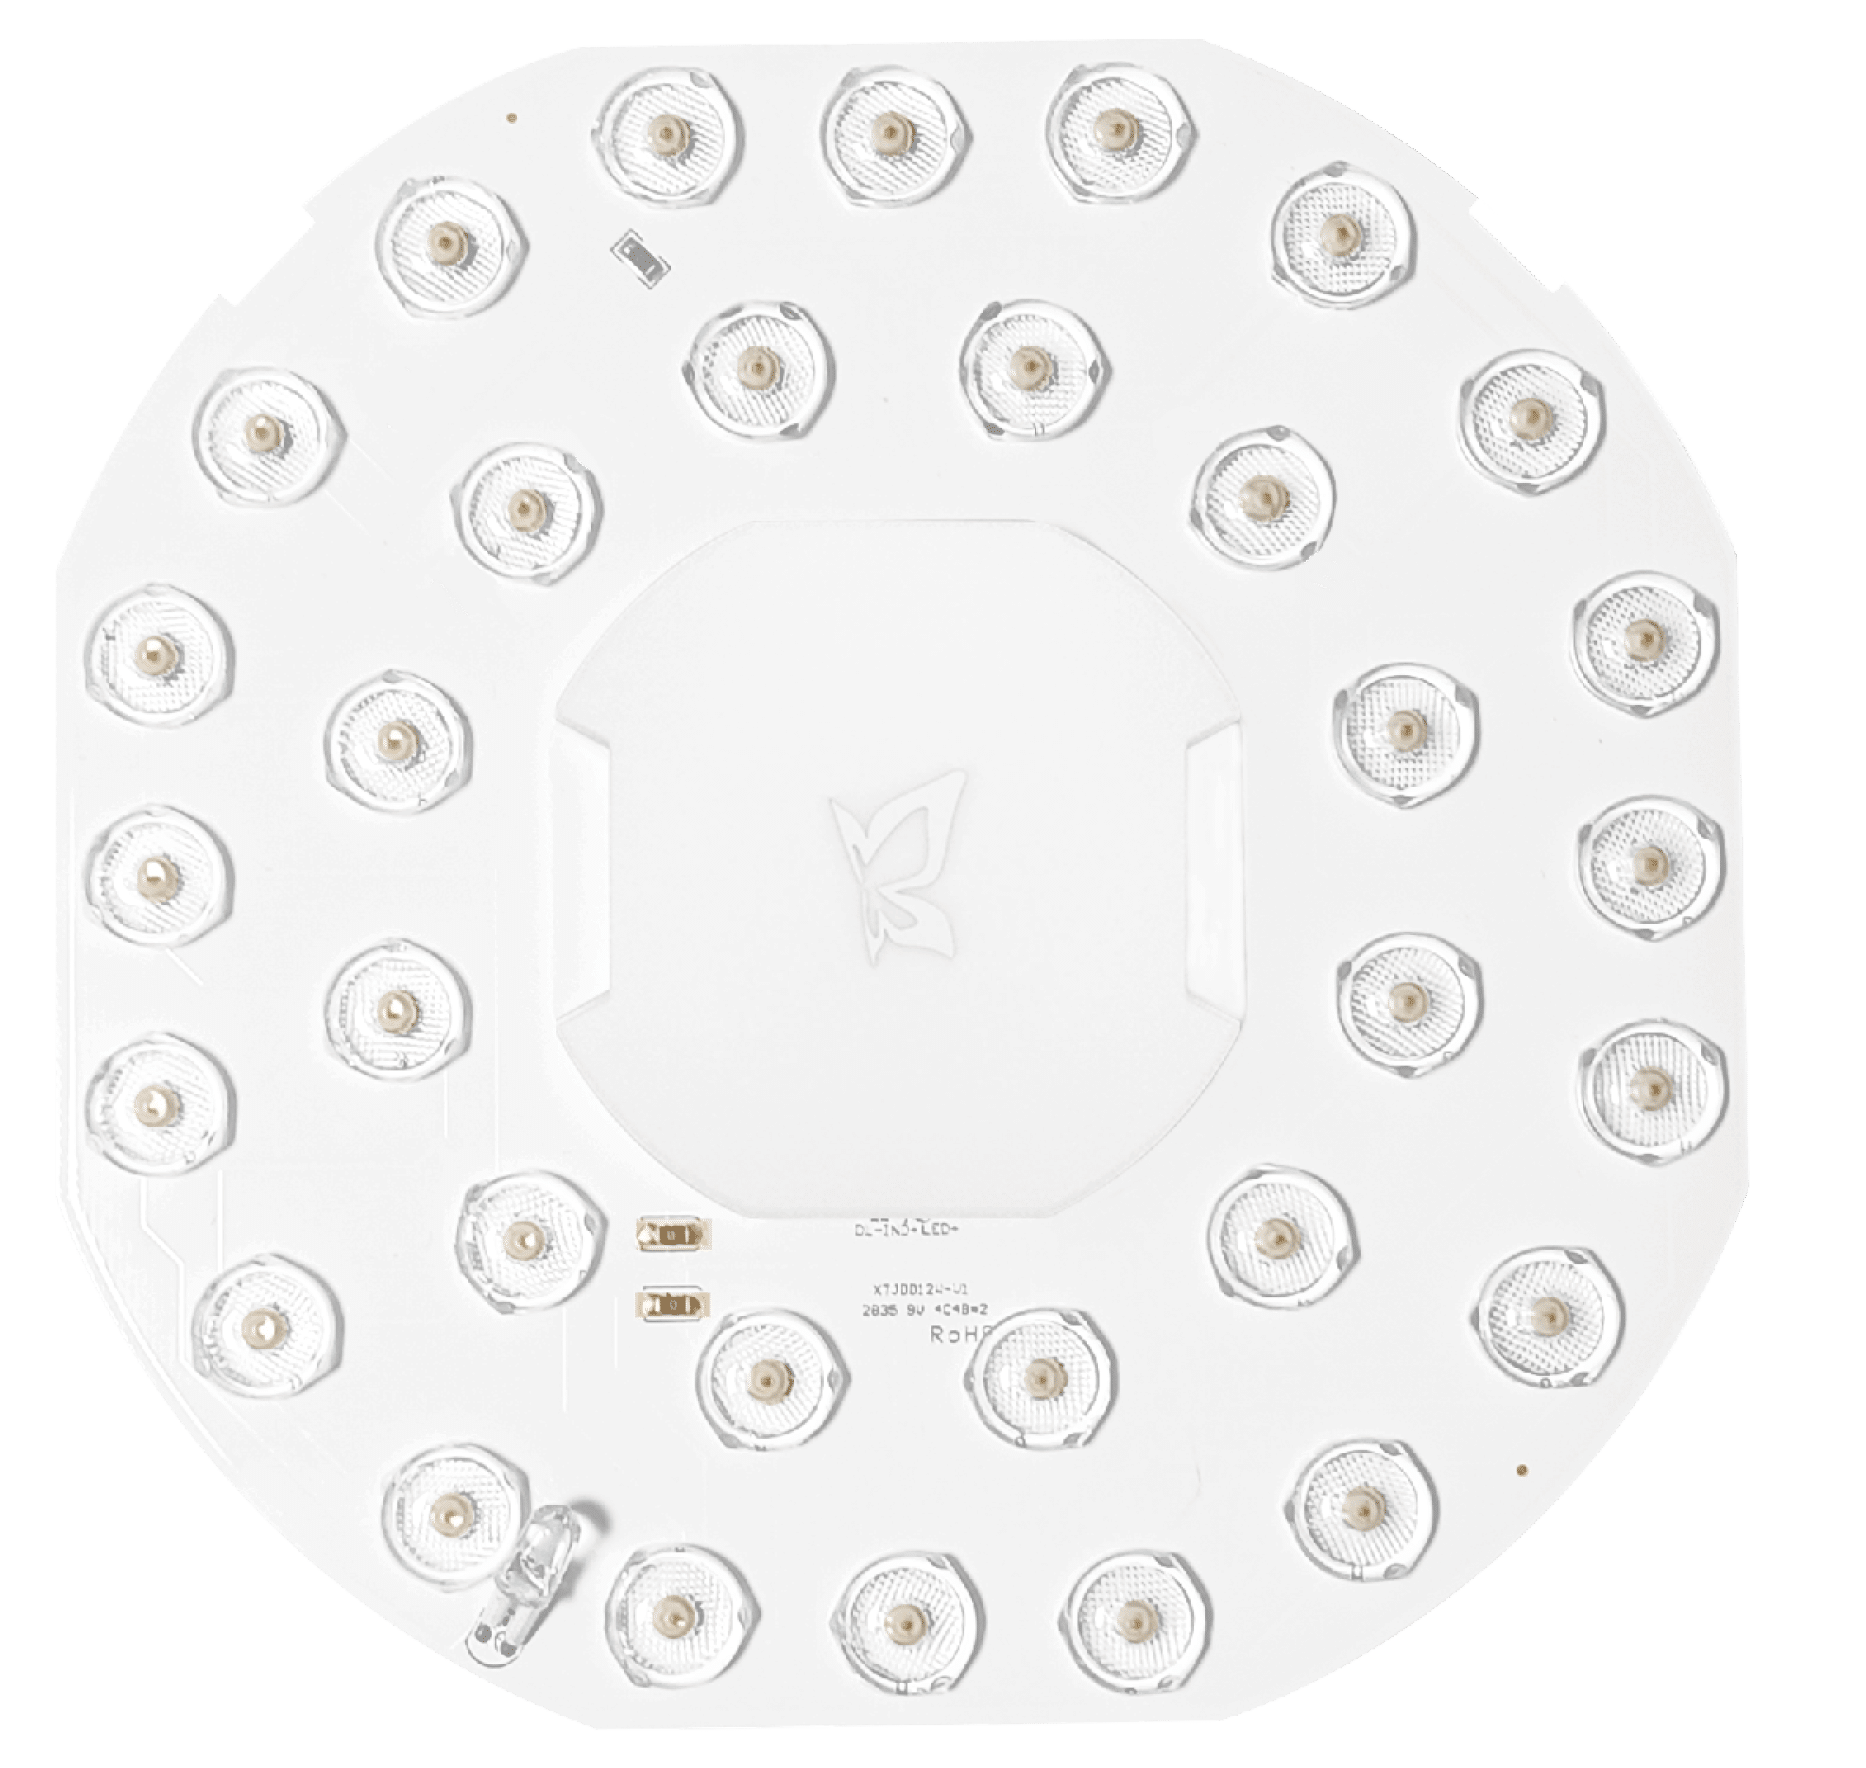
Using ultra-wide LED lenses of 170° provides an even shadow-free light output on the front of the diffuser.
Microwave Sensor – RMW-DC (Only compatible with DD218)

1. Slide the plug-in sensor on to the DD lamp – making sure that the side with the DIP switches and sensor face front of the lamp.

2. You can choose one of three positions to attach the sensor to the DD lamp.

3. Connect the sensor to the DD lamp using the 4-pin to 3-pin cable supplied with the sensor and plug it into the socket on the back of the lamp labelled ‘Sensor’.
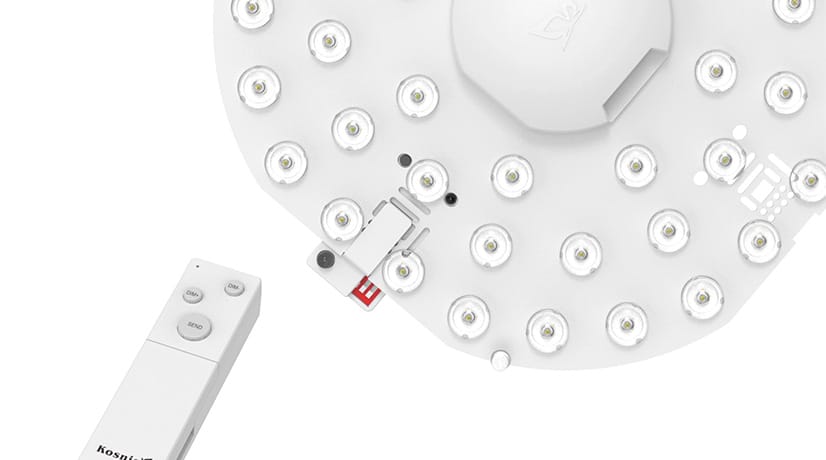
The RMW-DC is also compatible with our Universal Remote Control, which allows you to configure the sensor to fit your environment.

Simply, configure the DIP switches inside the remote to your desired settings and then point the remote towards your fitting and click the ‘send’ button – the luminaire with briefly flicker, so you know it has received the configuration.
DD EME – EMDD02 (Standard) & EMDD02/ST (Self-Test)

1. Firstly, connect the battery inside the emergency module before plugging it into the luminaire.

2. Place the emergency module into the slot on the base of the luminaire – then, turn the twist and lock clips to secure the module.

3. Connect the module’s blue wire to the Neutral (N) and the brown wire to the Unswitched Live (L1) of the push-wire connector.

4. Using the cable provided with the emergency module, plug the output of the emergency module into the back of the DD lamp into the socket labelled ‘EME’.

The DD II is available in a Mini version. This is also wattage (6W, 8W, 10W & 12W) and CCT switchable (2700K, 4000K & 6500K) and available in a dimmable version.

Our whole DD II range has 3 year on-site warranty to go along with it’s 5 year product warranty.